Creating Folders

Contents

** After Creating a Folder Structure in RFI's, do not forget to setup your folder defaults **
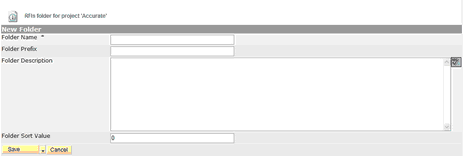
| • | Click on the Create A Folder icon |
| • | Insert the folder name, description and sort order (if applicable). |
| • | The sort order will be as created unless defined differently. |
| • | In RFI's you have an option for Folder Prefix. Whatever you enter in here will be the prefix to the numbering scheme. Example: PDM as a prefix would make the numbering PDM 001 , PDM 002 etc... |
| • | Saving |
| • | Save Folder to save; will bring you back to the main screen |
| • | Save & New to create another folder |
| • | Save & Copy to copy and create another folder |
| • | Cancel will cancel out folder |

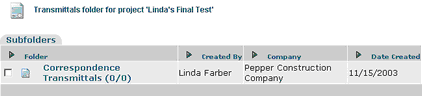
To create an item inside a folder, click on the folder name and proceed with the transmittal process as shown above.
RFI Folder Permissions
| • | Each folder will have their own specific numbering system. |
| • | Click on the sub-folder name |
| • | Click on the Folder Access icon |
| • | This will bring up your project member list. |
| • | Find the contacts and click on the “Can Modify´selection box who will have the ability to create RFI's in this folder |
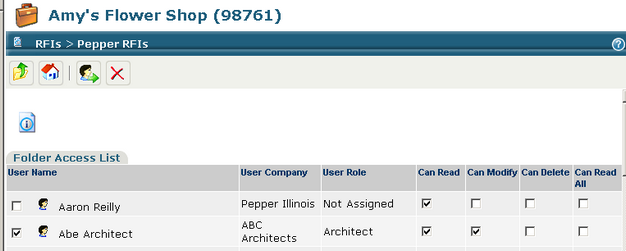
Note: The Can Read All permission will give the user permission to read all RFIs in the folder. This is typically used if a new person is brought on in the middle of the project.
Once you have created the folders, go the Project Setup Module, click on Defaults. At the RFI Default Folder section, select the appropriate folder via the drop down box. This will direct Forwarding of RFI's on the correct path.
![]()