Creating a Submittal Item

Contents
CREATING A SUBMITTAL ITEM
Click on the submittal package you wish to attach items to. Click on Create New Submittal Item icon 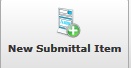
Insert Item Information
| • | Number – defaults to 000001; can be modified |
| • | Description – insert item description |
| • | Copies Submitted - inserted number of copies being submitted to the architect |
| • | Revision – defaults to 000; can be modified |
| • | Item Type – select item type via drop down box |
| • | CSI Division – select via drop down box |

Insert Tracking Information
| • | Date Submitted – defaults to current date; can be modified |
| • | Required Review Time – defaults to days set up in project defaults |
| • | Required By Date – calculates from current date and review time; can be modified |
| • | Item Status – select via drop down box (For Approval, For Record, Pending) |
![]()
| • | Notes – insert if required |
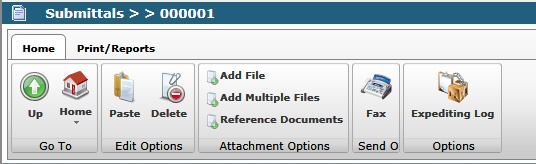
| • | Option to attach a file or document (see above for instructions) |
| • | To Close via drop down box |
| • | Click Save to save and go to summary screen |
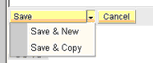
| • | Click Save & New to save and bring up new item screen |
| • | Click Save & Copy to save and create copy to revise for next item |
| • | As you continue to enter items, you will have the following additional options |
| • | Update & View Package – allows you to view the items you have inserted. Use the |
Back Arrow in the tool bar to bring you back to the items screen.
![]()
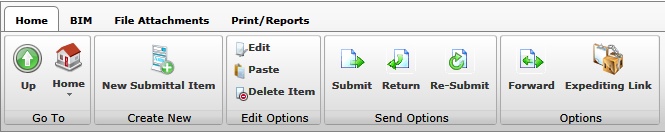
| • | When all items have been entered, click on Update & View Package |
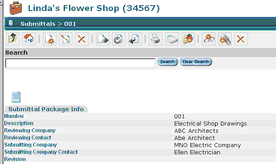
| • | This will bring you to the Submittal Items screen. |
| • | Select the items to be transmitted |
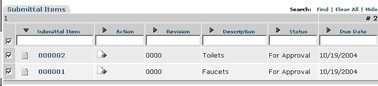
| • | Click on the Submit Icon in the Toolbar |
| • | This will bring you to the transmittal screen. |
| • | At the transmittal screen |
| • | Number – defaults to next sequential number; cannot be modified |
| • | From – defaults to user; modify by using the select button process |
| • | To – defaults to the architect; modify by using the select button process |
| • | Date – defaults to current; cannot be modified |
| • | Description – defaults to submittal package name |
| • | REF – insert if required |
| • | Sent – insert delivery method |
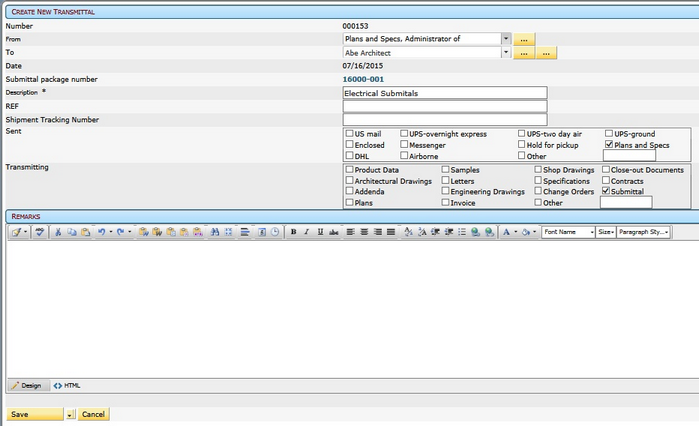
| • | Remarks – insert if required |
| • | CC To – add cc’s by clicking on the Add Transmittal Recipients icon |
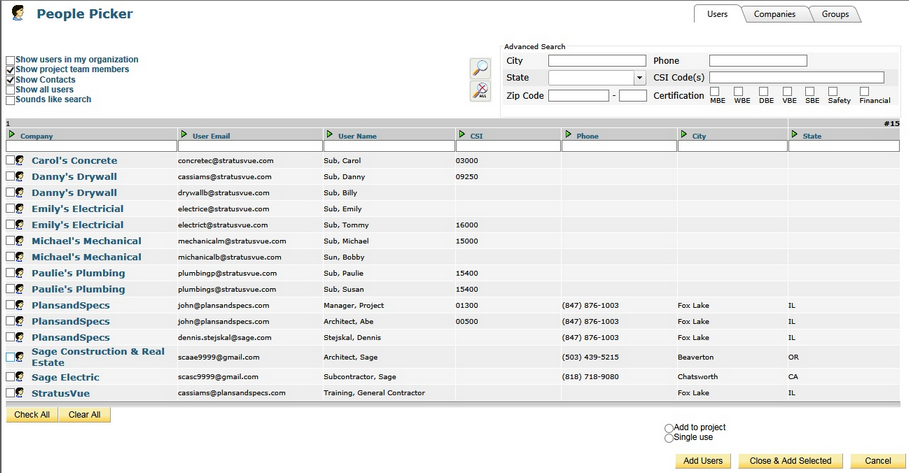
| • | This will bring up your project member list; select your cc’s by clicking on the selection box to the left of the company name. |
| • | You can also select a Group is one has been established by clicking on the Groups tab in the upper right hand corner. |
| • | When the transmittal is completed, click on the transmit icon |
| • | The transmit icon must be used to process the submittal to the next step in the system |
| • | The transmit icon will also take you on to the transmittal screen where you will have the option to print and/or fax the document. |
Note: You can use the Update button to save the transmittal, but this will not continue the submittal process. The transmit icon must be used to continue the process.
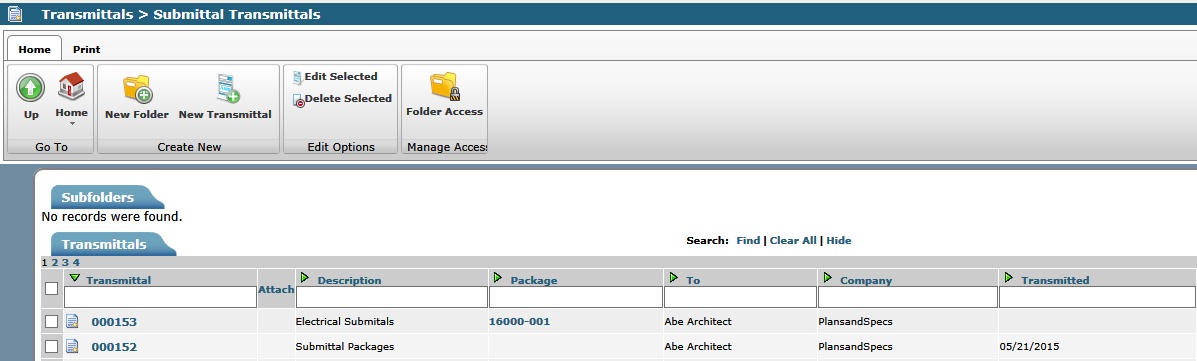
| • | The transmit icon will take you into the transmittal screen where you can print the transmittal |
| • | To print the transmittal click on the transmittal number |
![]()
| • | This will bring up the transmittal. |
| • | To print click on the print icon |
| • | To fax click on the fax icon |
| • | To return to the submittal module, click on Submittals in the navigation tree. |
Note: You can edit item information by clicking in the selection box to the left of the item and click on the edit icon. Make your revisions and click the update button.
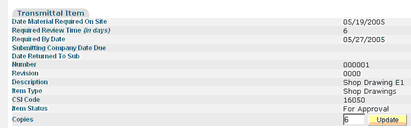
To Edit Transmittal Attachment Copies Being Sent

| • | Click on the transmittal number |
| • | This will bring up the Transmittal Item Screen |
| • | Change the number of copies being sent at the bottom right corner |
| • | Click Update |