Creating a Daily Log / Report

Contents
To Create A Daily Report
(Initial setup for your first daily report. Use Copy a Daily Report process from your second daily report on)

If you are using a folder structure, click on the folder and then click on the Create New Daily Report icon. ![]()
If you are not using a folder structure, click on the Create New Daily Report icon at the Daily Log screen.
Create New Daily Report screen comes up
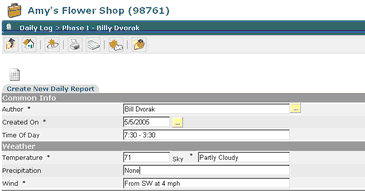
Common Info
| • | Author – defaults to the user; can be modified by using the select button |
| • | Created On – defaults to current date; can be modified |
| • | Time Of Day – insert time range |
Weather
| • | Current weather information pre fills fields. |
| • | Precipitation will not default; you will have to fill in this field |
Note: If your weather does not pre-fill, check to make sure there is a zip code inserted in the project information.
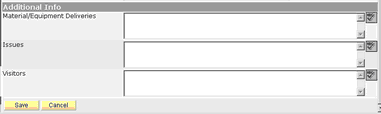
Additional Info
| • | Material/Equipment Deliveries – enter appropriate information |
| • | Issues – to be used to enter information other than specified in the report |
| • | Visitors – to be used to record visitors to the job site |
Click on the Save button (Note: if you are editing the daily report, the Save button will become the Update button)
TO CREATE ACTIVITIES
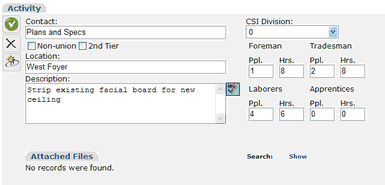
| • | Contact - Type in the first few letters of the company name. A popup box will come up – select the appropriate subcontractor. |
| • | Option to select Non-union company |
| • | Option to select 2nd Tier Subcontractor Designation. If selected, a field will insert for the Primary Subcontractor’s name. |
| • | Location – Insert location of work |
| • | Description – Insert description of work |
| • | Insert CSI Division if applicable. |
| • | Insert number of people and total hours worked. |
Click to save activity; a new activity screen will automatically come up ![]()
Note: During the setup of your first daily report of the job, you will need to click on the Save Activity icon after each activity is created.
This will continue to bring up your activity screen to insert each new subcontractor on the project. When you have completed the first daily report, you will have one blank entry screen showing on the screen. You cannot delete this. Just leave as is.